Showing posts with label craft. Show all posts

Tuesday, April 24, 2018

Tiny Easels

I love this so much.

I remember seeing this craft a while back, and loving it, and then not doing anything with it and forgetting all about it, but then - and I don't even know why - it popped into my head the other day. 

A quick Google turned up this amazing Instructable, but since I can't always watch videos at work, and since I like to take photos as I do stuff so that I remember how I did it, and since why the heck not, I decided to take photos of the process and post it on here.


What You Need


  • 6 clothespins (the kind you pinch open, not clothes pegs)
  • 1 small dowel - a toothpick will work in a pinch
  • Hot glue gun and glue sticks
That's it. So easy.


What To Do

  1. Plug in your hot glue gun to preheat. The rest of this goes pretty fast. Now, take apart 2 of your clothespins. This is easily doable by twisting the top part away from the bottom part. 
  2. Take one of the half-pins and apply glue to the edge that was the bottom inside when it was a whole pin (see photo). Glue to the bottom inside of one of the whole pins. Repeat twice more, since you need three of these. I made sure to make all 3 of mine facing the same direction, but I really don't think it makes much of a difference. You should now have three identical pins with glued-on legs, one complete and untouched pin, and a small dowel.
  3. Thread the dowel through the top holes of three clothes pins. I turned the middle one upside down here, so they were all facing in the same general direction. NOTE: This looks much nicer when it's done if your front legs (the outside two) have the extended side of the pins on the table, and the unglued side on top.
  4. Gently pinch the two outside pins so they are touching the center pin, while angling them outward like a capital letter A.
     
  5. Dab hot glue at the base of the whole clothespins, and lay your last (whole) pin on the glue, thus attaching it to the easel. This is the stand where you can rest your artwork.
  6. Stand up the tripod by allowing the center pin to fall back, as a third foot. You can see the dowel sticking out both ends of the top of your easel. You can either break of the unneeded pieces, or mark the spot with a pencil and cut it off. (My dowel was thin enough to use a pair of scissors to cut it.)
  7. If desired, dab hot glue onto the dowel where it meets the pins, to keep the whole thing in one piece. I also added a dot of hot glue to the bottom of each leg, to add traction, so it stands up without slipping. Paint or decorate as you please.
  8. Add artwork/post-it notes, or photos to your easel, and enjoy.


How It Went

I actually have this project on the calendar for next month, but I wanted to make sure I had the steps all set to go ahead of time - this was a test to make sure it wasn't frustratingly difficult, and it was perfect! I'm really looking forward to this one. I hope I get a nice crowd. The plan is to make tiny easels, and then paint "Mini Masterpieces" to go on top of them. (Maybe I'll even bring in my Bob Ross Funko to take photos with the tiny paintings! How cute would that be?)

Having said that, I have my sample on my desk, and even though it's only been there for a day, I've already gotten several compliments on it, from people of all ages. I wouldn't do this with the younger crowd, because hot glue, but it would make a nice adult craft, too. 

Friday, March 30, 2018

Super Quick Bunny Craft


I did a bunny storytime today, and I supplemented my books and bunny songs with a very easy bunny craft. Then, some of the kids who come to my older craft club saw it, and they needed to make bunnies, too (which was awesome! But I made them cut out their own).


What You Need


  • Cardstock
  • Glue Sticks
  • Crayons, markers, googly eyes, etc. to decorate
  • Pom-poms or cotton balls - optional, but cute


What To Do


  1. Print the template below onto cardstock - I used white, so the bunnies could be colored in any way the artists saw fit, but colored cardstock would be nice, too. Cut the pieces out.
  2. Color and decorate your bunnies while they are flat, being sure to explain that one side of the bunny is the front, and the other is the back.
  3. Fold along the dashed lines.
  4. Apply glue to the inside of one bunny head and ears; glue to other side. You don't have to go any lower than the head.
  5. If desired, glue pom-pom to the bottom at the back, for a fluffy tail.
  6. Sit back and enjoy your bunny.


Template

I can't figure out how to upload the PDF version of this, so here it is as a JPG. It should print onto 8.5 x 11" paper perfectly.

Tuesday, March 27, 2018

Emoji Corner Bookmarks

Emojis are, and probably will be for a while, quite popular. The emoji bookmarks that I bought are flying off my desk, and when we made valentine cards, probably half of them had emoji faces on them. As such, I decided to pull out an old standby - the corner bookmark - for Art Club this week, and make emoji bookmarks!


What You Need

Colored paper, mostly yellow
Scrap paper to cut out eyes, mouths, etc.
Glue Sticks
Colored pencils, markers, etc. to decorate with

How To Do It


1. Make sure all your paper is square. You can start with square origami paper, or cut it down to size. Be sure to save the scraps for future projects.


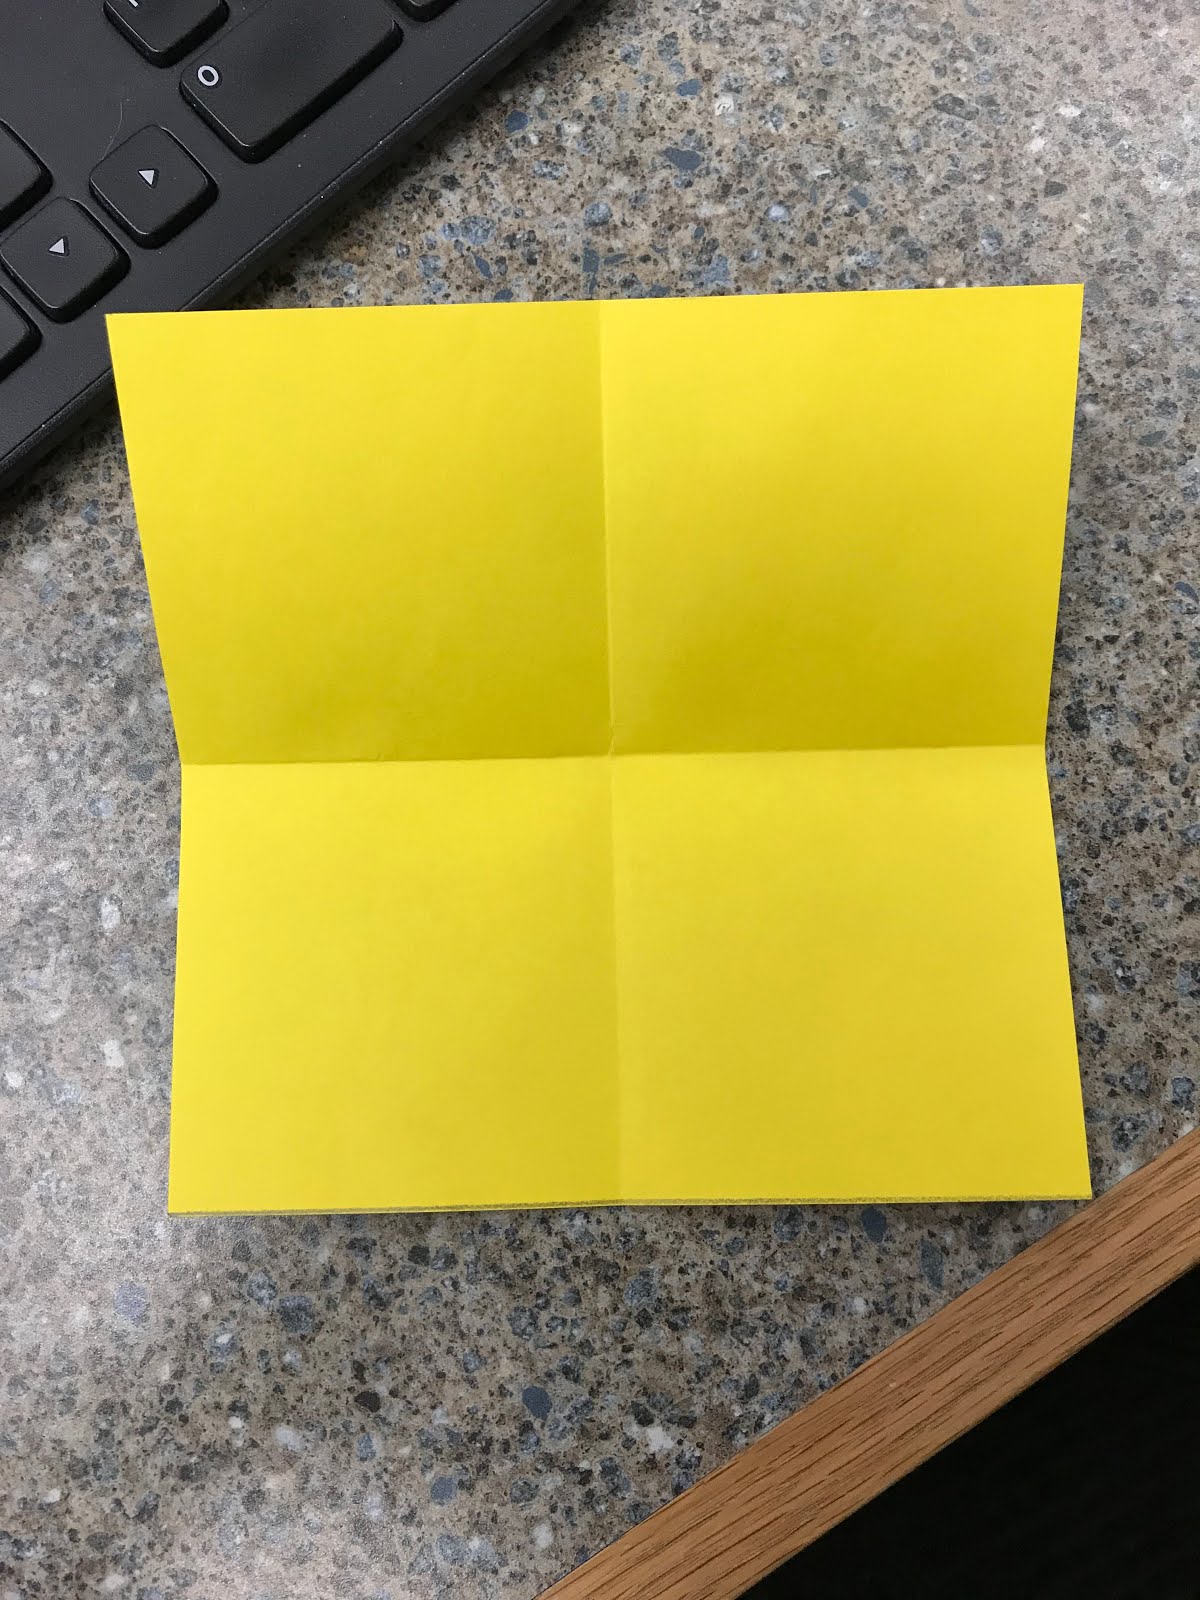
2. Fold your big square into four smaller squares.


3. Remove one of the smaller squares, so you have 3 left.


4. Holding the paper like a V, cut from the right corner of the bottom square, to the top corner of the right square. Repeat on the left. It will look like a kitty cat.


5. Fold one of the flaps over onto the full square. Cover the top side with glue. Make sure you don't have any glue on the bottom of the flap!


6. Fold the second flap over on top of the flap with the glue. This will make a little pocket.


7. Keeping the opening of the pocket at the top, decorate your bookmark. I found that cutting out eyes and other features from paper and gluing them on worked better than markers or crayons, but it's up to you. Note: You probably don't want to use anything 3D like googly eyes or sequins, because then your book won't close flat.


8. To use, slip a few pages into the pocket of your bookmark and save your page.


Variations

Mmmm! March!
I've made these to look like monster faces, Harry Potter characters, big arrows that say "I stopped reading here!", etc. It's a very easy, flexible craft, and can be as detailed or basic as you desire.

Thursday, January 11, 2018

Valentine Stampers

I wanted to show you this super simple Valentine's Day craft in plenty of time to plan out an event.  It's such a cute idea, and the kids tend to really love it. I had some kids make two, three, or even four valentines for friends and family (but I set the limit at four, because that's a lot, you're good now). 


You Need:

Paper in various colors, some cut into hearts of various sizes
Paint (I used washable tempera paint) in red, pink, purple, and blue
Toilet paper/paper towel tubes
Rubber bands (optional, but useful)
Glue
Other things to decorate (glitter, feathers, crayons, etc.)


How It's Done:

Take your toilet paper tube and press in on one side, bending it inward. On the opposite side, bend it out a little bit. This makes it a heart shape. If desired, hold this shape in place by wrapping a rubber band on the outside of the tube.


Put out paper plates with various paint colors. Glue paper hearts onto construction paper, and decorate by stamping the cardboard tube into the paint, and then onto the paper.


Decorate with markers, crayons, glitter, etc., until you're happy with the result. 


Notes:

This was super popular, and very, very easy. The kids loved that I let them make multiple valentines, and some made them to send to grandparents, etc. They loved the "I made it myself!" aspect, and the parents enjoyed that it was easy, fun, and also looked pretty nice, even with the smallest children. (It's hard to mess up stamping.)

Wednesday, January 10, 2018

Kirigami Paper Flowers

I am all about the paper crafts lately. This easy paper flower is a hit with my teens, and since you can quickly learn how to make them, I just so happen to have about 10 of them on my desk right now - not that I'm complaining. So cheerful!

The photo at the left here is actually two flowers stacked on top of each other. Doesn't it look lovely that way?

This craft isn't origami, because it's not just folding, and I don't know if it's technically kirigami (folding and cutting paper), because you're also using tape, but it's still fun. We can call it kirigami, anyway.


You Need:

Paper - any kind, but probably not something too thick, like card stock.
Scissors
Tape

Here's How:


Start with a square of paper. If your paper isn't square, you can make it square by folding the short side of a rectangle onto the long side, and trimming off the excess.


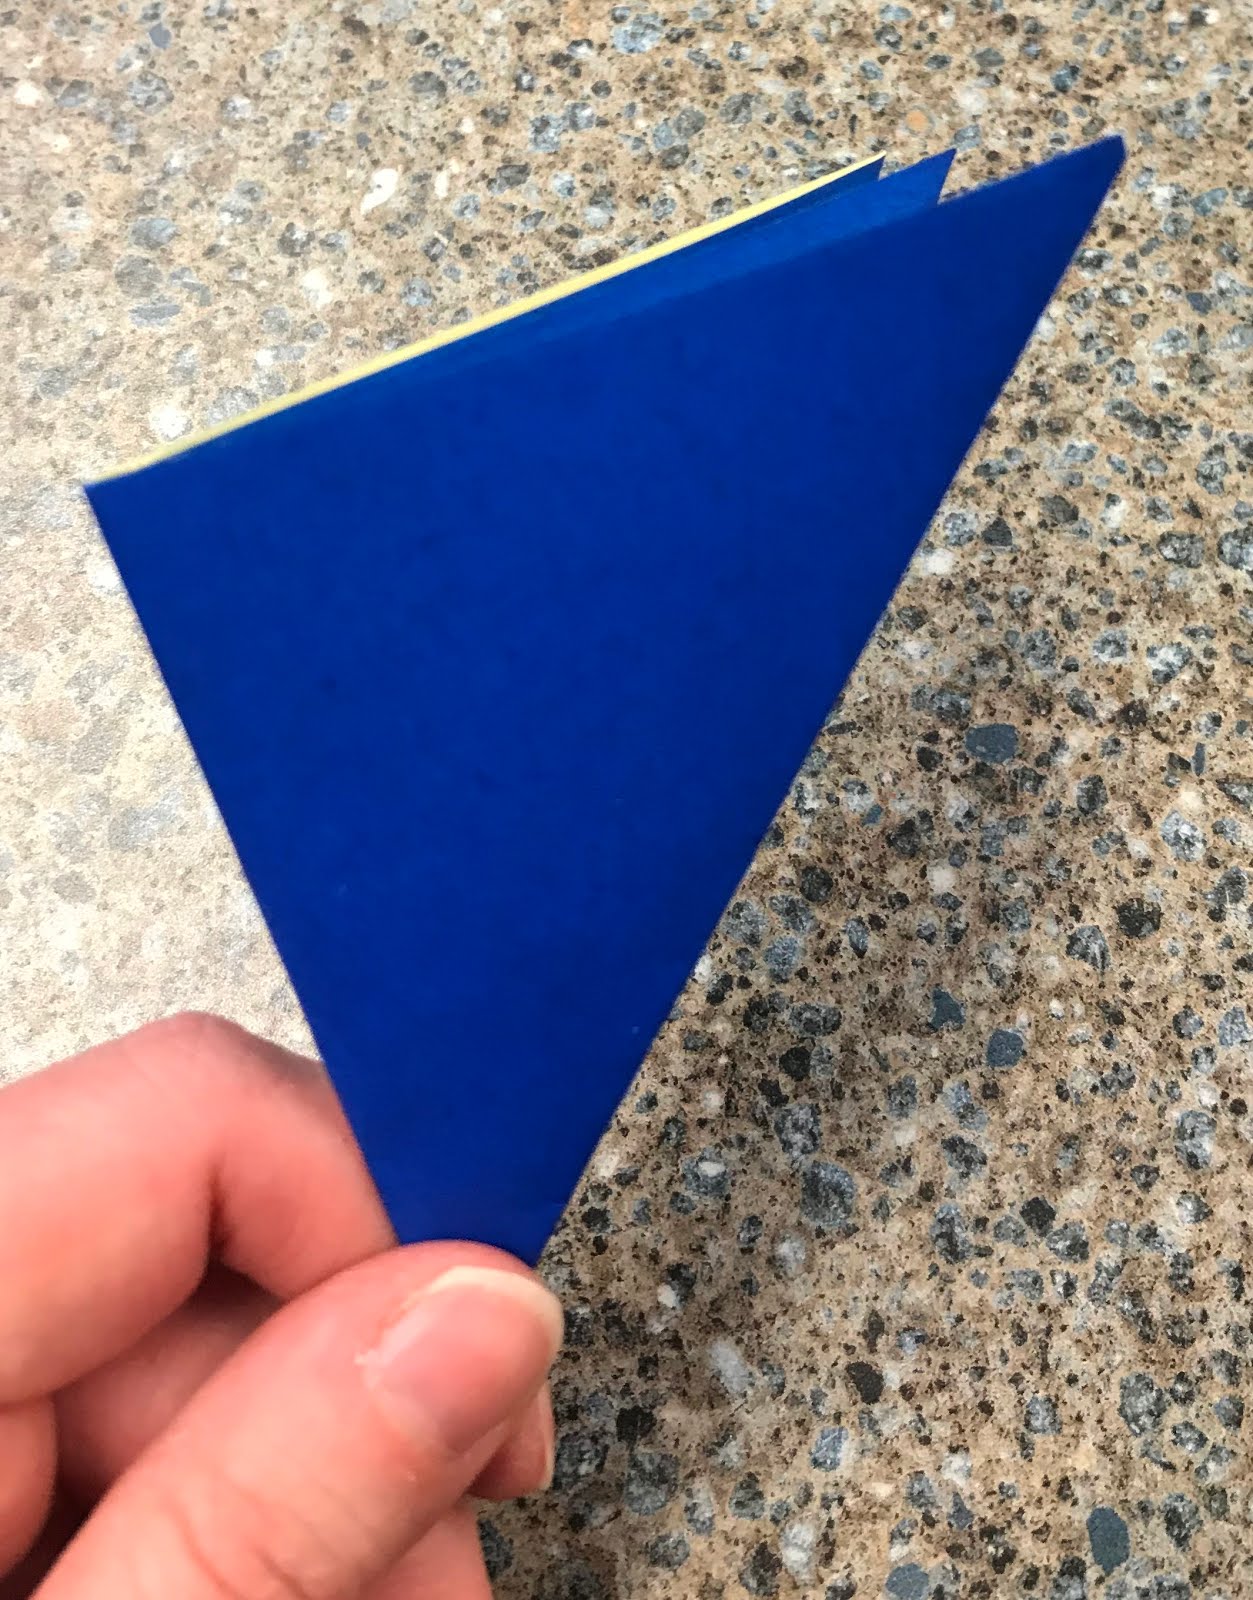
Fold your paper in half on the diagonal, then in half again, and then again.


With your favorite pair of scissors, cut off the corner (the right angle) and round out the shape. This will be your petal shape.


The next cut you want to make will be in an arc shape, as I drew here. Make sure you start at the open end of the paper (not the corner where all the folds meet), and cut toward *but not all the way to* the other corner.


Unfold your paper, and behold its beauty.

Put a bubble of tape in the center of your flower. Then, take the center paper flap on one of the petals, and fold it toward the middle of the flower, securing it to the tape.


Repeat on the other three petals. You are done!


Variations:

You can use any type of paper at all. You can paint/color/decorate blank paper to really customize them, or use recycled books, origami paper - anything! They also look very nice when you stack them on top of each other, as in my original photo (at the top). GORGEOUS, I tell you!

Tuesday, November 28, 2017

Book Necklaces

I didn't realize it was backwards. Whoops.
Our next foray into wearable art is the book necklace. I made a sample over a month ago, and I very often get comments when I wear it (usually, "where did you get that?"). It isn't hard to make one of your own, but there are several steps involved.  Here's how:

You Will Need:
* One sheet of plain, white paper (printer paper works)
* Card stock or thin cardboard (NOTE: I used white card stock for this project this time, because I had several sheets on hand, but I have done this before with a cereal box; because we are covering the book, it doesn't matter if there is a pattern on the cardboard or not.)
* Colored or patterned paper, for the book cover
* Scissors, tape, glue, ruler
* Necklace string
* Clasps (optional)
* Thumbtack or needle, to make a hole for the string

Not pictured: string, because I forgot it until after I took the photo.
Step One: Folding
Fold the white paper in half from top to bottom, and cut along the fold.
- Take one of the half-sheets and fold it in half, and in half again, and again, and again.  You want 32 small rectangles.


Step Two: Cutting
- Cut out the rectangles; you will need 12 for this project. You can recycle the others, or use them for bookmarks.

Step Three: More Folding and Stapling
- Group the paper into 4 groups of 3 rectangles each.
- Fold each group in half, and staple along the crease. You should have 4 small paper books.

In progress.
Step Four: Taping
- Tape two of the stapled bundles together at the spines; repeat with the other two.
- Tape all four of the little books into one big book.


Step Five: Card Stock
- Set the pages aside and measure out a cover for your book out of card stock.  I found that it worked best if it measured 2.75" x 1.5". When we did this project at the library, I had all the covers pre-cut, so we didn't have to fuss with rulers and pencils and such.
(Why? It needs to be slightly taller than your pages are tall, and a long enough to cover both front and back of the little book, plus room for a spine. Because our little book is roughly 1.25" tall by 1" wide, this seemed to fit well.)

I know you're all jealous of my Woody the Owl ruler, but I'm not selling it.
Step Six: Making a Spine
- Before adding patterned paper, I folded my little book cover around the pages, pressing down to make a nice square spine. This step is optional, but I find that it makes it easier to put together in the end.

Sometimes it helps to see it, not just read it.
Step Seven: Adding Patterned Paper
- Cut a piece of patterned paper that's slightly bigger than your book cover.  I found it easiest to lie my card stock on the wrong side of the patterned paper, then drawing a rectangle around it, making sure to leave 1/4" or so of room for glue.
- Glue the card stock to the blank side of the paper, and then cut off the corners.


Step Eight: More Tape
- Tape down the patterned paper on all four sides, then re-crease the card stock to make it into a book shape again.


- Make a bubble of tape and apply it to the inside of the book cover, on the spine. Press the pages into the tape and hold tightly. You now have an adorable little book!

It's so cute!!
Step Nine: Making a Necklace
- Take a needle or a thumbtack and make a hole toward the top of the spine of your book. Wiggle it around until it's big enough to thread some string through. (Alternately, you can use a jump ring, but I didn't have any of those on hand.)
- Thread a string through the book spine, and cut it to the appropriate length.  Either you can tie your string ends and slip the necklace over your head, or you can add a clasp.


Enjoy!
Miss Kat's Notes:
- Yes, this is held together with mostly tape, but I've had mine for over a month and it hasn't fallen apart yet. I assume you could glue it, but I haven't had the need.
- If you are using cardboard with a pattern on it that you don't want to see, be sure to glue that side of the cardboard to the paper, thus hiding the Trix Rabbit.
- You could get really fancy and print out or draw a tiny copy of your favorite book cover and use that to cover the card stock. I found that I enjoy having a generic book, rather than a specific one, but it's up to you.