Have I mentioned how much I love arts & crafts? I really do. I've started an almost-weekly art program for teens, which I'm calling "Crafternoon" (I also love puns), and I've pulled out all my favorite crafts - plus a few new ones!
This craft is also my current decoration on the windows near my desk.
It's super easy to make these, and you can use any kind of paper that you want. Origami paper, wrapping paper, construction paper - even boring old printer paper. I've chosen to upcycle an old book that had been recently weeded, since I'm in a library and all.
You will need:
Paper - 6 sheets per snowflake
Scissors
Tape
Stapler
Instructions

1. You need six sheets of paper for each snowflake, preferably all the same material, if not color. Because my book wasn't a square to begin with, I did the old trick of turning rectangles into squares - fold the short side against the long side to form a right triangle, and trim the excess.
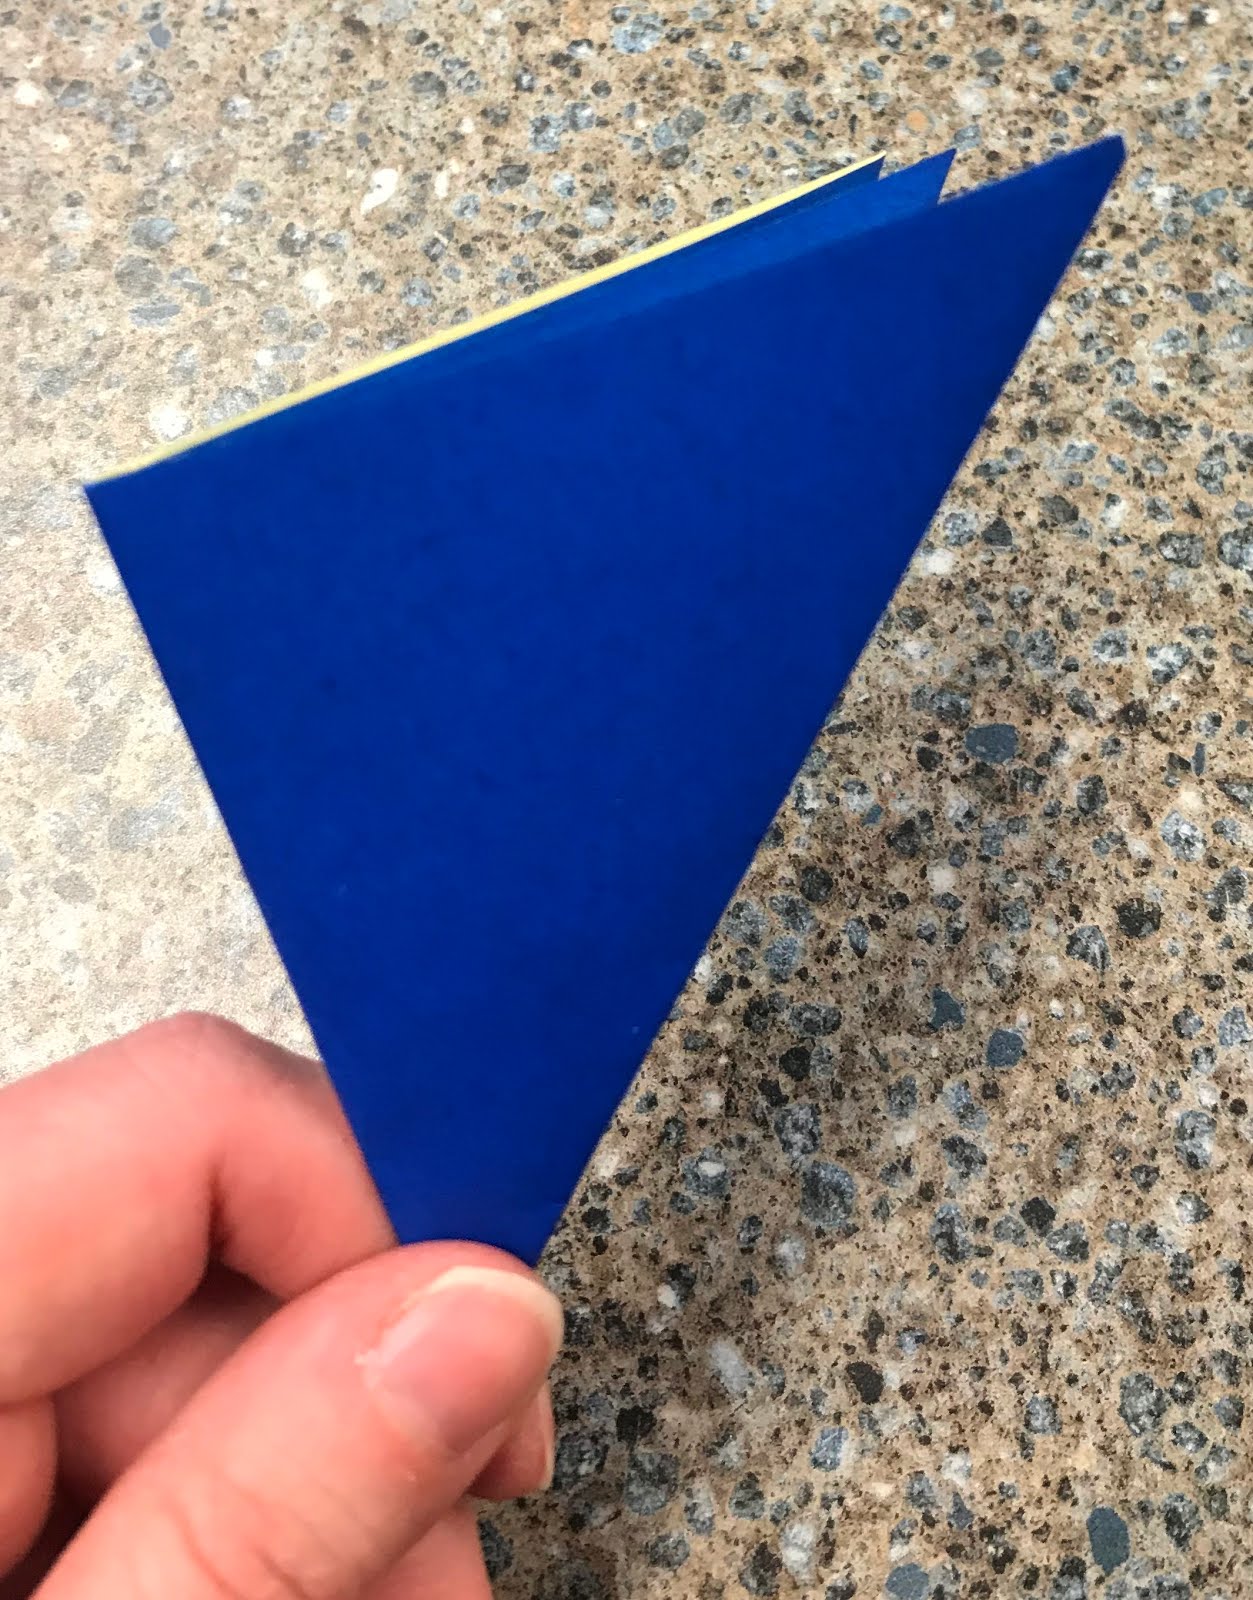
2. Fold your square in half diagonally, and then in half again.
3. Starting at the folded edge, make three cuts parallel to the long side of the triangle. I've drawn them here in orange marker, but you don't need to draw anything out - just cut through the entire piece of folded paper, starting at the folded edge - but don't go all the way to the end.
4. Unfold your paper and behold its beauty. It should look like this: see how the cuts make a V at two corners, but are joined on the other two corners? Perfect.
5. Take the paper flaps in the center of the square and curl them toward you into a small tube. Tape to secure.
6. Flip your paper over and take the next-innermost flaps, and curl them toward you into a small tube. Tape to secure.
7. Again, flip your paper over, so your last tube is on the bottom. Take the next-innermost flaps, and curl them toward you into a small tube. Tape to secure.
8. One last time, flip your paper over, and tape the last two corners together into a tube.
THERE! Isn't it beautiful? Your paper tube-spiral should look like this.
9. Repeat with all sheets of paper, so you have 6 paper tube-spirals.
10. Take three of your spirals, staple them together at one end. Then, staple the spirals where the paper touches, at the widest part of the spirals. Repeat, so you have two of these.
11. Staple your two half-snowflakes together, and attach the last two corners of the spiral. And... voila!
Notes
Since you're attaching multiple sheets of paper together, your snowflake may be larger than you expected it to be. You can always start with smaller sheets of paper, but it becomes much harder to staple together when the snowflake is a smaller size. Glue or tape may work better in that instance.
You can also make snowflakes with 8 or 10 sides, but even numbers always look nicest, because they're symmetrical.

 I wanted to show you this super simple Valentine's Day craft in plenty of time to plan out an event. It's such a cute idea, and the kids tend to really love it. I had some kids make two, three, or even four valentines for friends and family (but I set the limit at four, because that's a lot, you're good now).