Emojis are, and probably will be for a while, quite popular. The emoji bookmarks that I bought are flying off my desk, and when we made valentine cards, probably half of them had emoji faces on them. As such, I decided to pull out an old standby - the corner bookmark - for Art Club this week, and make emoji bookmarks!
What You Need
Colored paper, mostly yellow
Scrap paper to cut out eyes, mouths, etc.
Glue Sticks
Colored pencils, markers, etc. to decorate with
How To Do It
1. Make sure all your paper is square. You can start with square origami paper, or cut it down to size. Be sure to save the scraps for future projects.

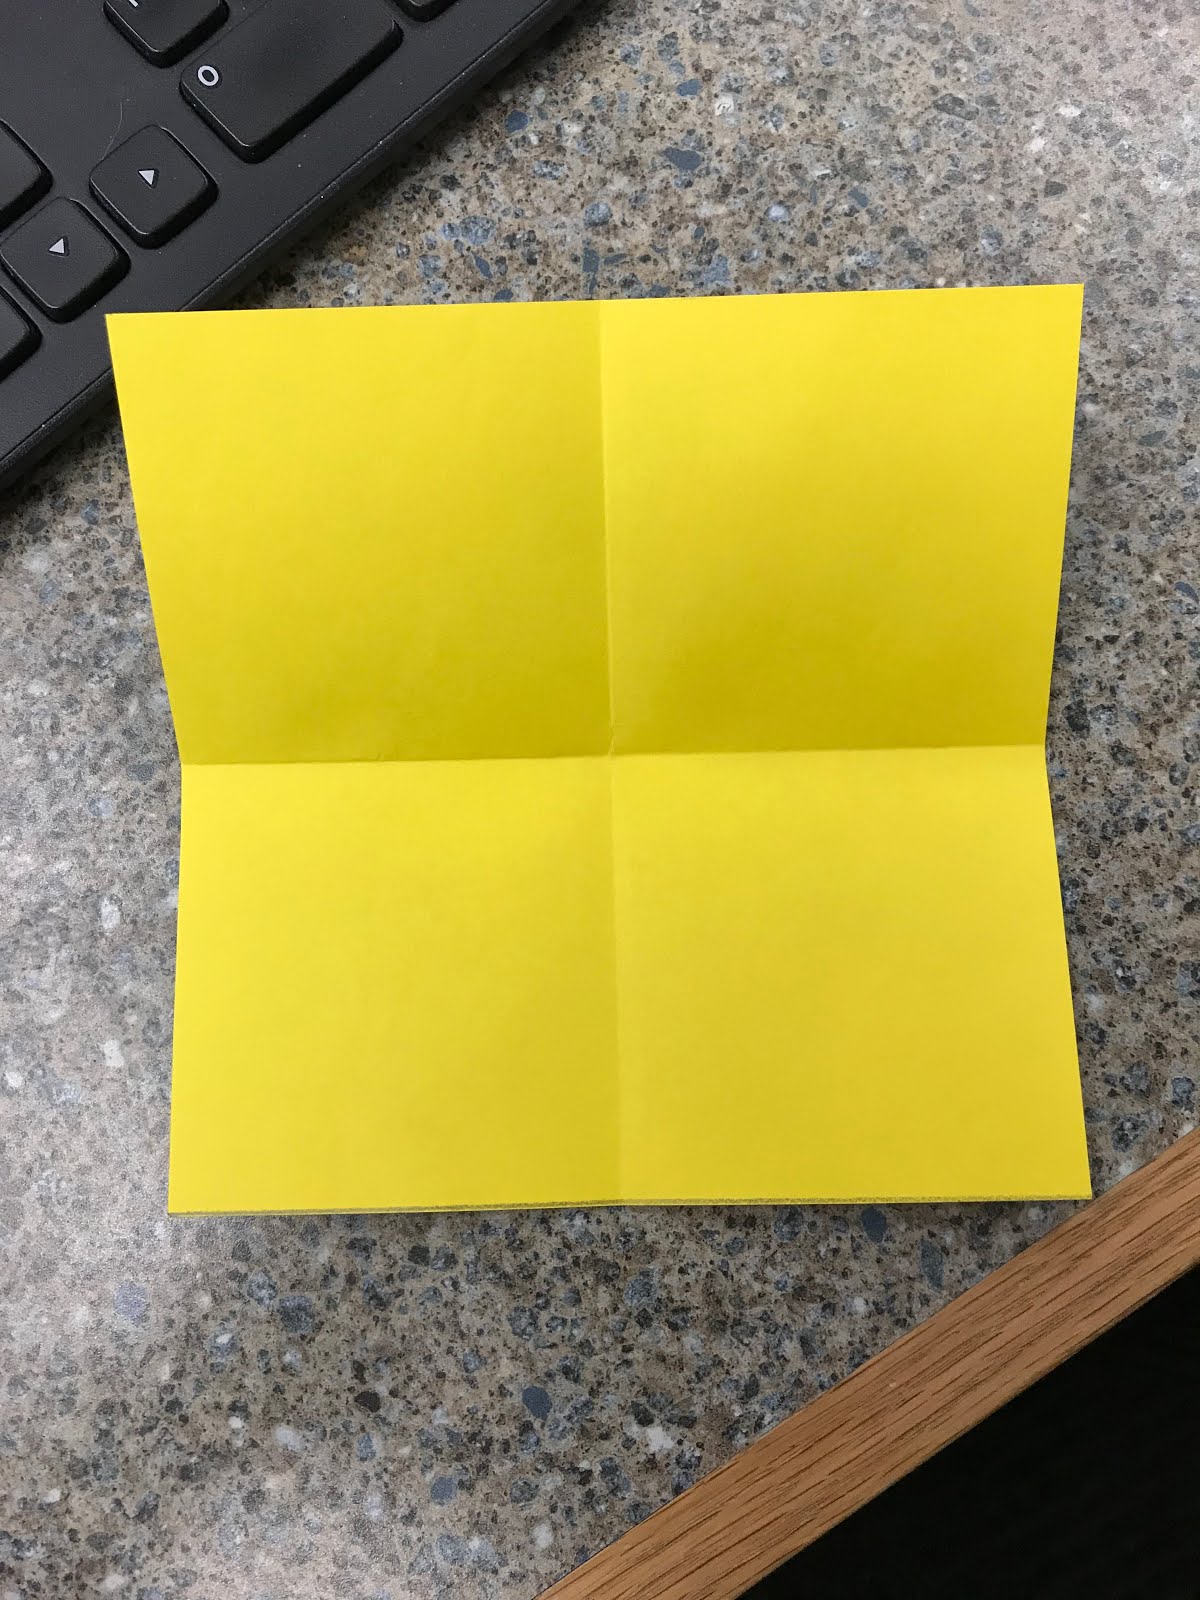
2. Fold your big square into four smaller squares.

3. Remove one of the smaller squares, so you have 3 left.

4. Holding the paper like a V, cut from the right corner of the bottom square, to the top corner of the right square. Repeat on the left. It will look like a kitty cat.

5. Fold one of the flaps over onto the full square. Cover the top side with glue. Make sure you don't have any glue on the bottom of the flap!

6. Fold the second flap over on top of the flap with the glue. This will make a little pocket.

7. Keeping the opening of the pocket at the top, decorate your bookmark. I found that cutting out eyes and other features from paper and gluing them on worked better than markers or crayons, but it's up to you. Note: You probably don't want to use anything 3D like googly eyes or sequins, because then your book won't close flat.

8. To use, slip a few pages into the pocket of your bookmark and save your page.
Variations
 |
| Mmmm! March! |
I've made these to look like monster faces, Harry Potter characters, big arrows that say "I stopped reading here!", etc. It's a very easy, flexible craft, and can be as detailed or basic as you desire.

 I did a bunny storytime today, and I supplemented my books and bunny songs with a very easy bunny craft. Then, some of the kids who come to my older craft club saw it, and they needed to make bunnies, too (which was awesome! But I made them cut out their own).
 What You Need